Setting up a User Account
Table of Contents
When you create a user in Telematics Guru, that user account is created in the Organisation that you are currently logged in to. For example, if you're a partner of Organisation A, with B, C and D as subsidiaries, you'll need to go to Account >> Switch Organisation >> Select Organisation B >> Admin >> Users, to add a user into Organisation B. If you add a user into Organisation A, they'll be able to also access B, C and D.

A User Account can also be mapped to other Organisations. To do this, go to the User's home organisation and head to Admin >> Users >> Edit, and adding a mapping to the organisation(s) that you want that user to also be able to login to.
If a user is mapped to more than one Organisation they will be presented with a list of Organisations to select from when they login.
Adding a New User
The Simplest way to add a new user is to navigate to their home organisation as per above, and go to Admin >> Users and click on 'Invite User'. From here Telematics sets up a basic user template and sends an invite link with a temporary password to the email you input. The User will drop into the Menu below, and then you can click 'Edit' to start setting up their profile.
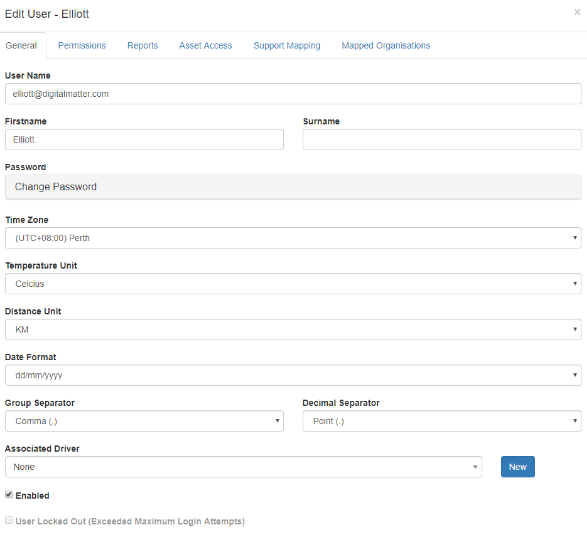
General
On the general tab, you'll find standard input details that help set up your Telematics user experience. These include Time zones, units used and syntax. After you Invite/Create a user, be sure to click the Enabled checkbox at the bottom.

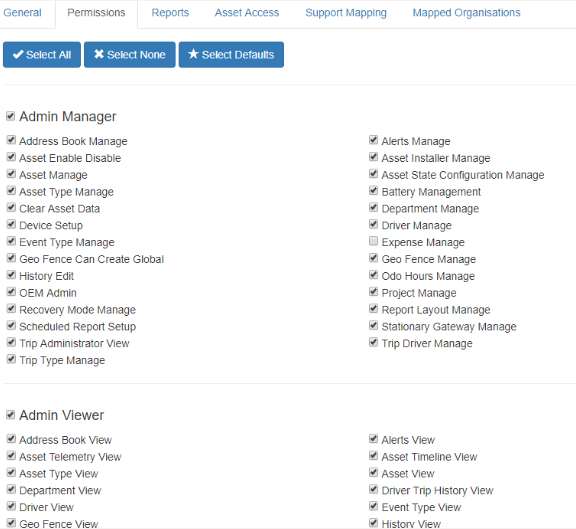
Permissions

For Permissions, this is an exhaustive list of all the different usages for Telematics guru. If you're not sure if the new user needs the access, turn the selection on and see if you'll find it useful or need it. Most default organisations are set up with full permissions aside from System Administrator, and Time & Attendance.
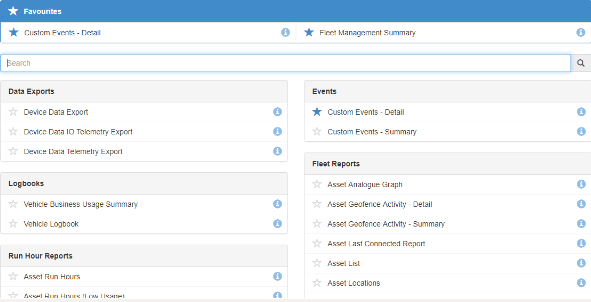
Reports

As with permissions, the easiest way to figure out what you'd like to set up, is to run a few reports to see if the data is what you're after. For more detail on reports, check out the Telematics Guru >> Reports section on the knowledge base.
Asset Access

If your new organisation has several projects or you'd like to refine the asset access levels per user, you can easily set up a user to see certain projects or assets. To assign an asset to a project, go to Manage Assets >> select the checkbox and click ‘Assign Asset to Project’
Support Mapping
Support Mapping – users created within a Partners “Home Organisation” (i.e. the first organisation created when the partner is set up) can be set up as a “Support User”. This invisibly maps them to all current and future organisations within the partner. This is useful for your support staff and account administrators. Mapping “Invisibly” means they won’t appear in the user list in these organisations, but they can still access the organisation.

Mapped Organisations
This section is a list of all the current organisation the user is mapped to and whether they have viewing access to all assets in that organisation.

