Bolt + Bolt 2- Assembly and Installation Guide
Table of Contents
This article applies to both the Bolt and Bolt2
digitalmatter.com
Read more about the Bolt on our site!
Assembly Guide
The Bolt comes with a snap-shut plastic housing. This housing, once shut is very hard to open without damaging the housing or maybe even the Printed Circuit Board (PCB) part of the device. The only notable difference between the Bolt and the Bolt2 is the addition on internal battery backup.
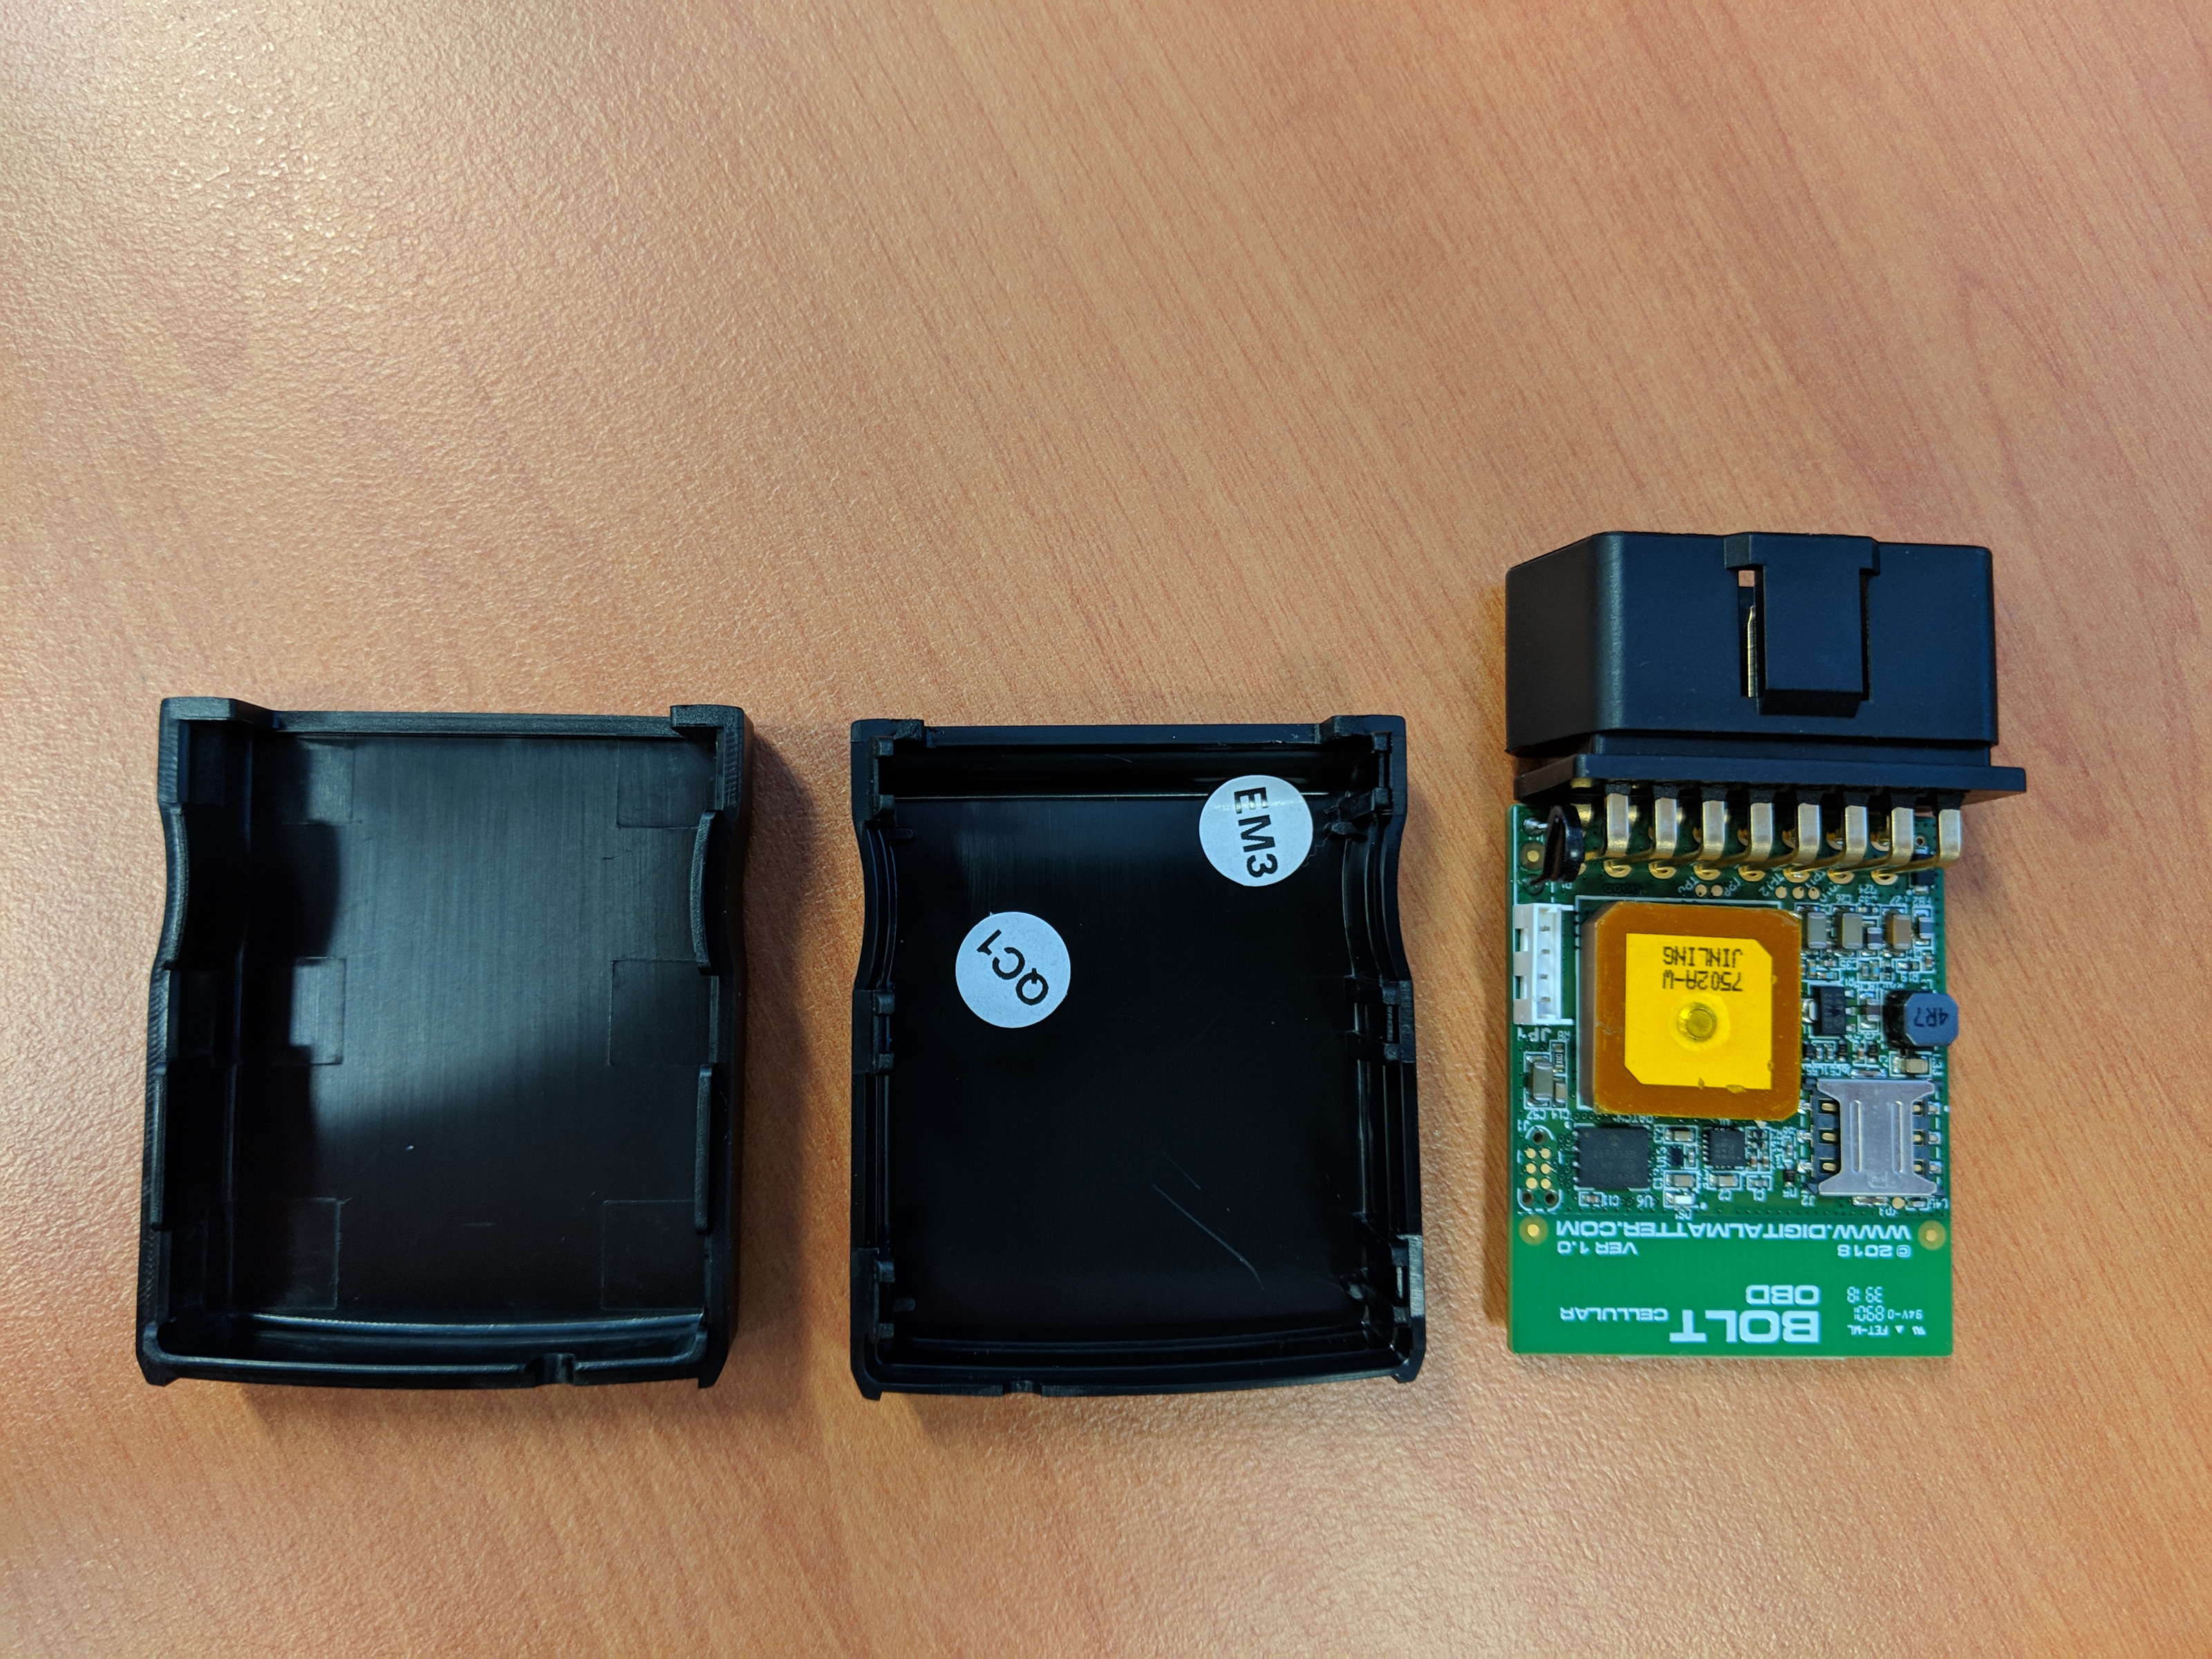
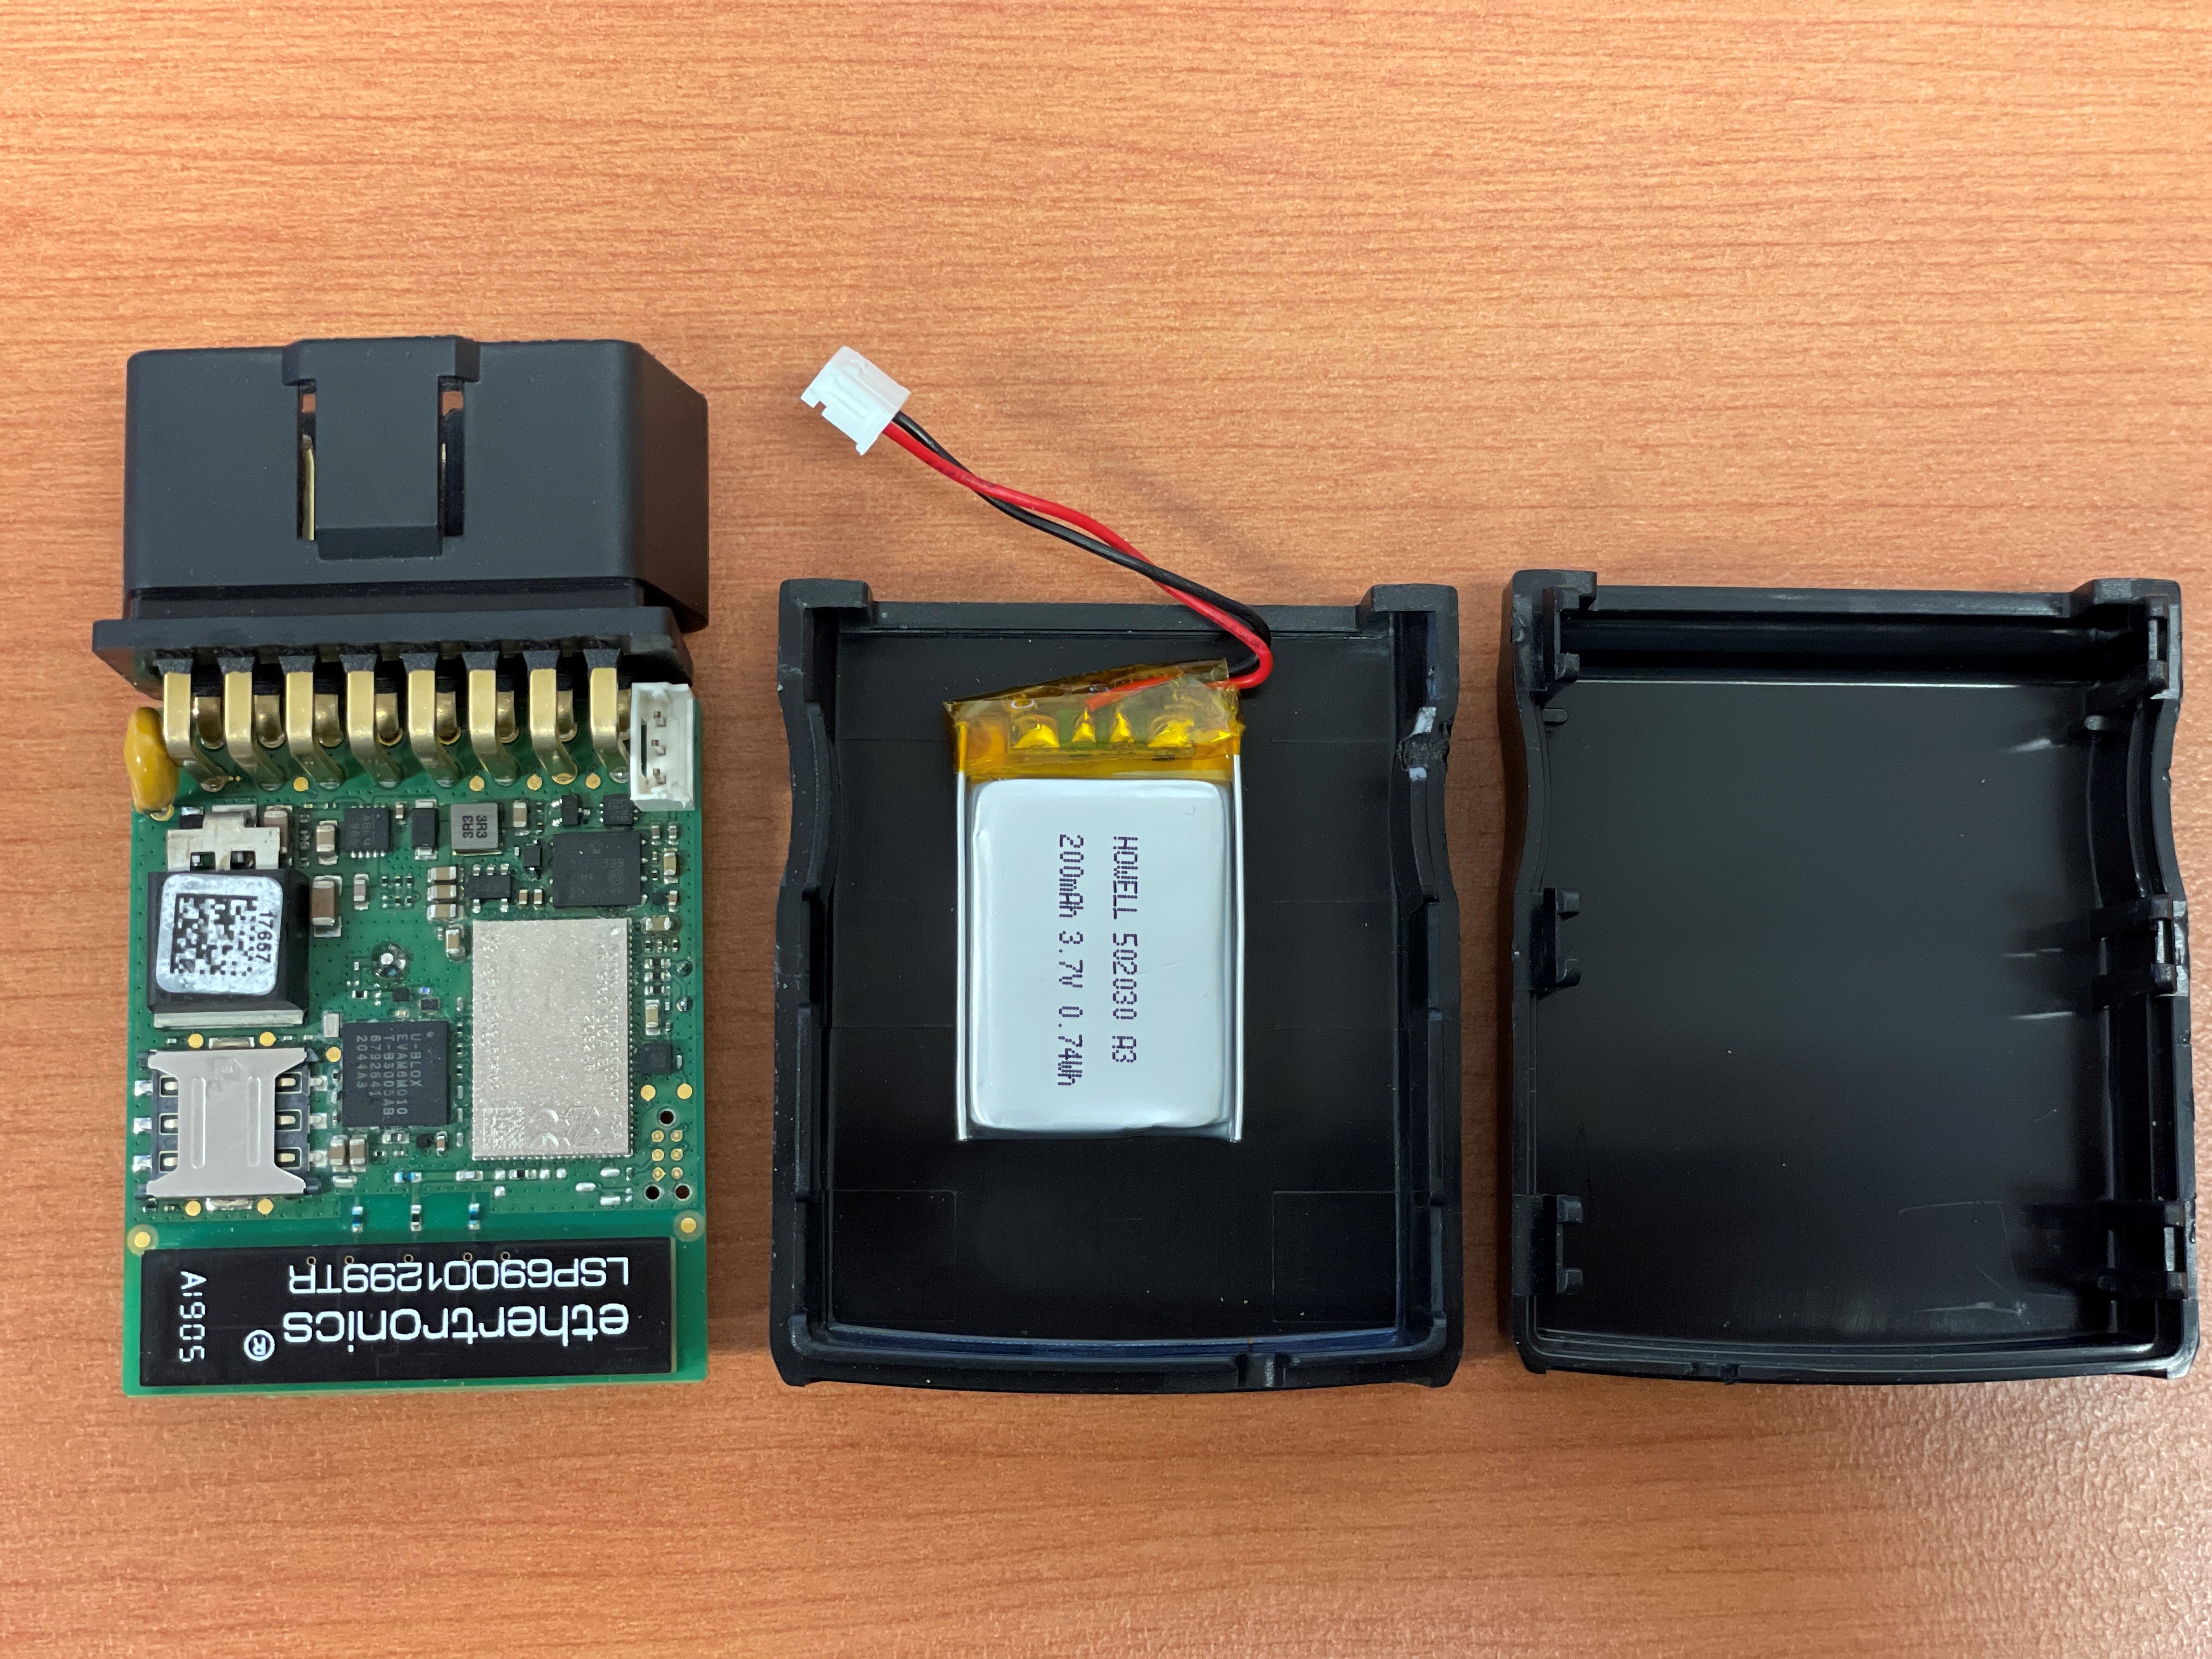
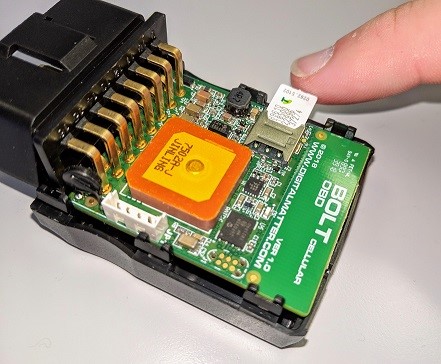
Both the Bolt and Bolt2 comes seated in the lower half of the housing, and is easily lifted out to insert the Nano (4FF) SIM card
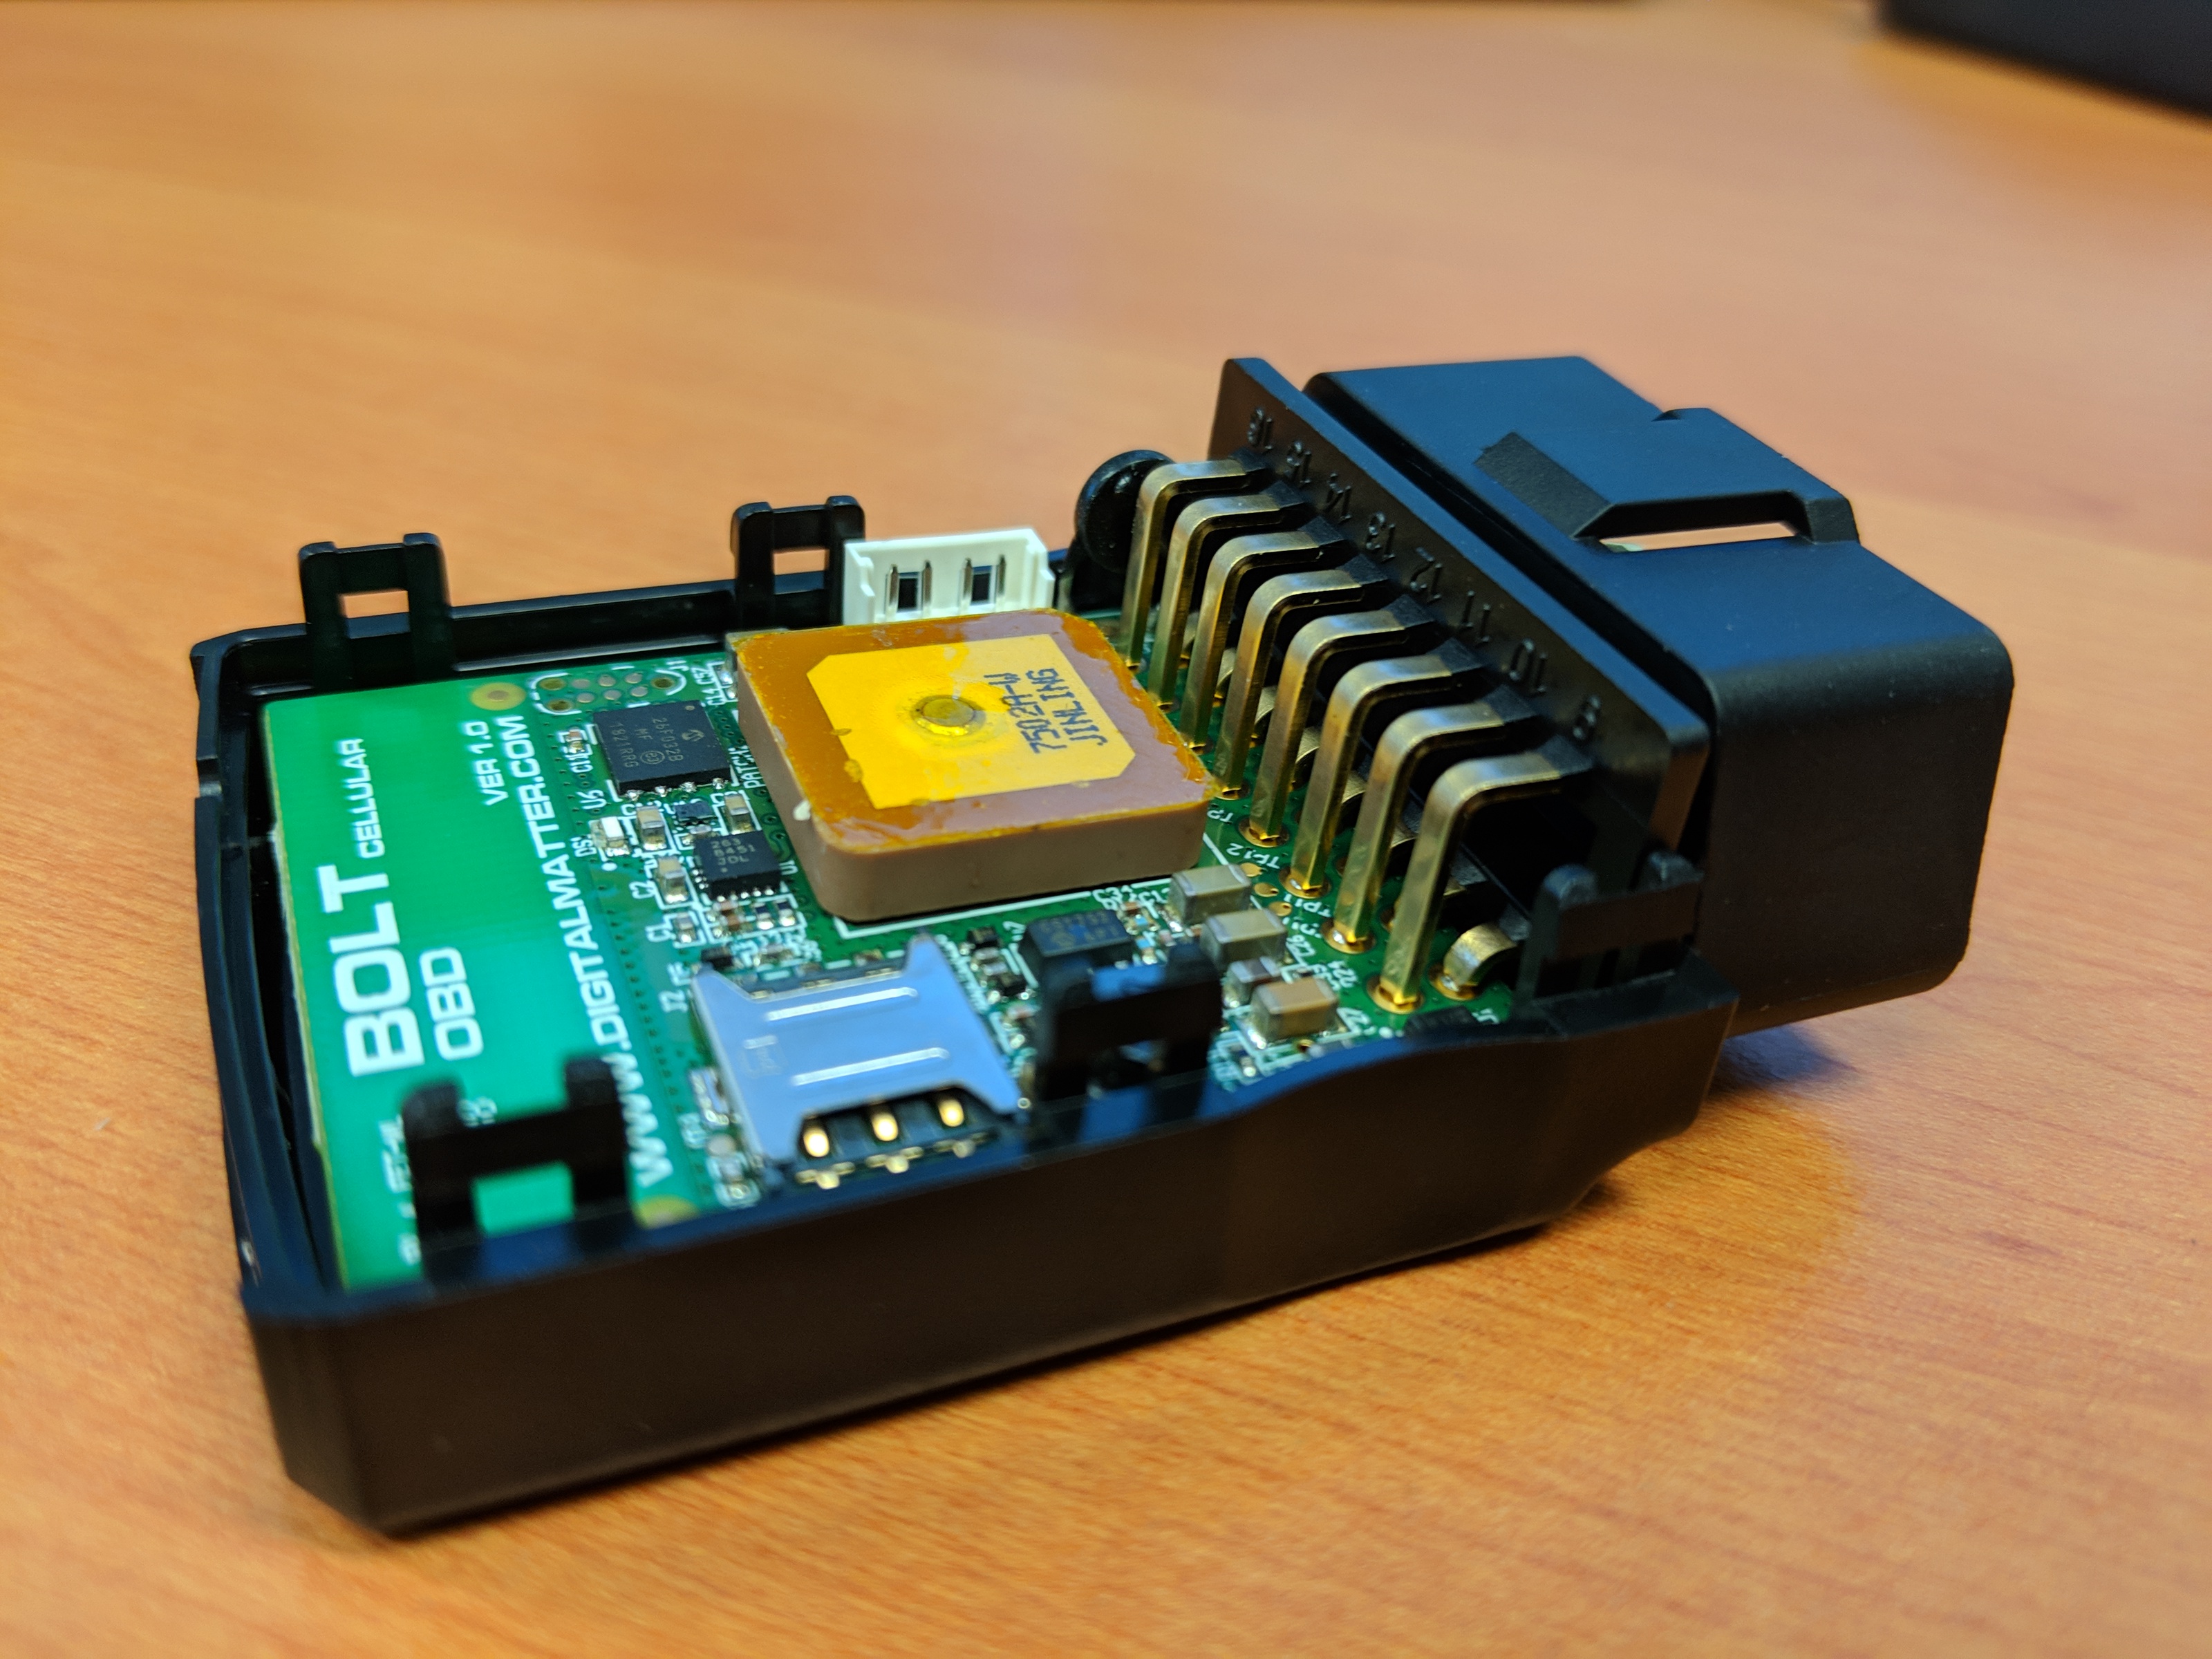
The clips displayed below are the fragile snap clips that need to align with the Top housing in order for the unit to close
The Bolt2 has an internal battery that needs to be plugged in to the connector located in the PCB, Once connected, if the battery has some charge, the green LED will flash. If it does not, try connecting the Bolt2 to external power to charge the battery.

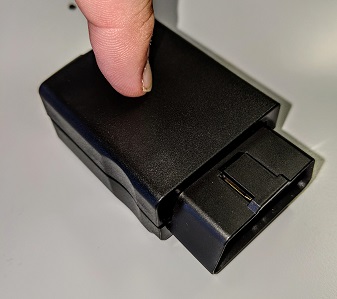
To close the housing, insert the PCB into the lower housing, and make sure it's aligned and lowered to the bottom of the groove. Align the top housing section and press together
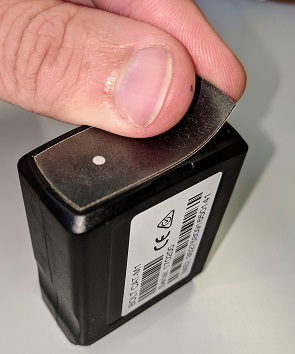
Once you have clicked the two housing sections together, you can place the sticker section on the back of the unit, aligning the LED to the hole in the sticker. This is an optional step to give a cleaner appearance to the device.
Splitter Installation Video
Bolt Step by Step Installation Guide
You can use a generic OBDII Splitter cables for use with the Bolt. The OBDII port was largely standardised in the late 90s.
They enable for a clean, concealed install. An OBDII plug will be exposed for mechanics (prevents the Bolt being removed during servicing and not being reconnected) and it will not appear that a device is installed at all.
This method requires some installation, but not an expensive auto-electrician etc. If the 'installer' can operate a screwdriver they should be able to accomplish this install. The cost of install can greatly contribute to the overall cost of deploying a device, and the Bolt aims to drive costs down as low as possible, yet still retaining premium performance!
The following example of an install is done on a 2015 Toyota Hilux SR, Other car models may vary in location and accessibility to the Port
|
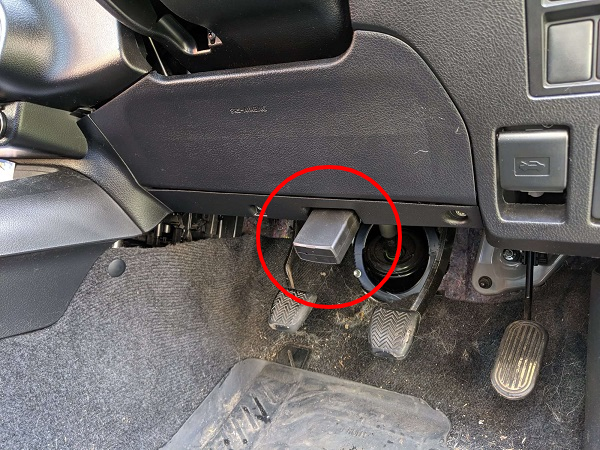
Step 1. Find your OBDII Port in the Vehicle and consult your car manual for instructions on how to remove the panelling to access behind the dashboard The image shows a Bolt simply plugged in to the OBD port, without the use of a splitter cable. |
 |
|
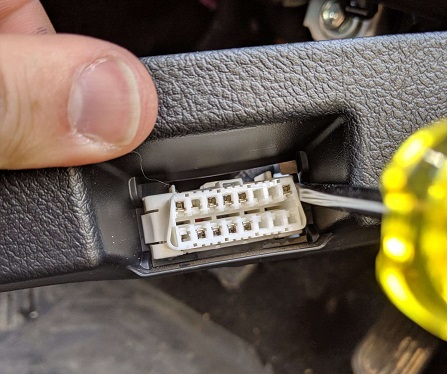
Step 2. Remove the panel holding the OBDII connector and disconnect the Connector. On the Toyota Hilux, this was as simple as two screws and clips on the sides on the connector. (shown) |
 |
|
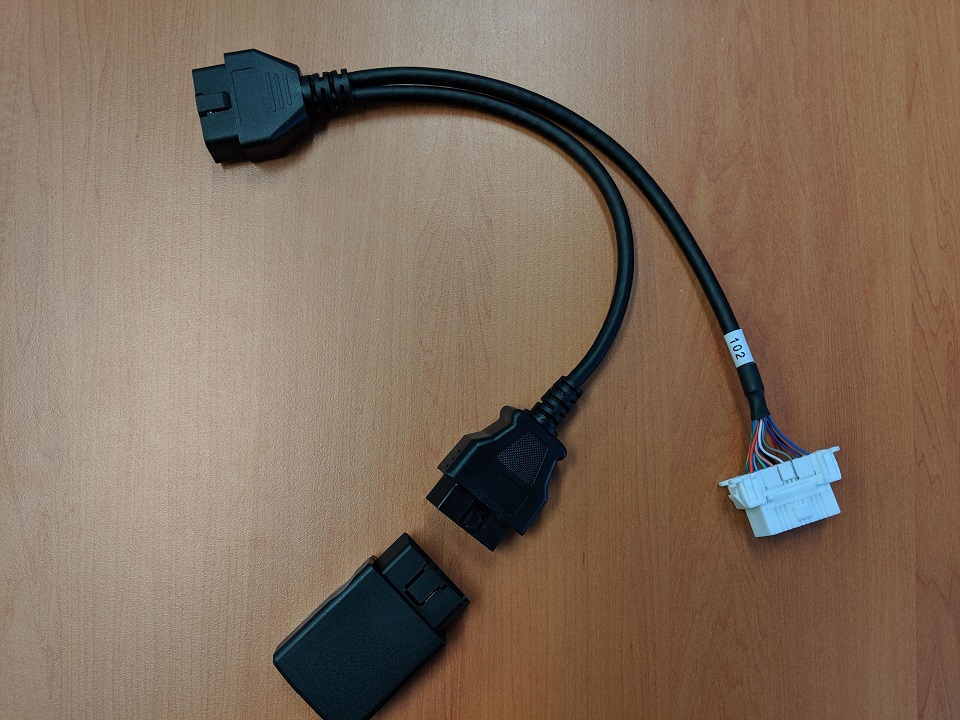
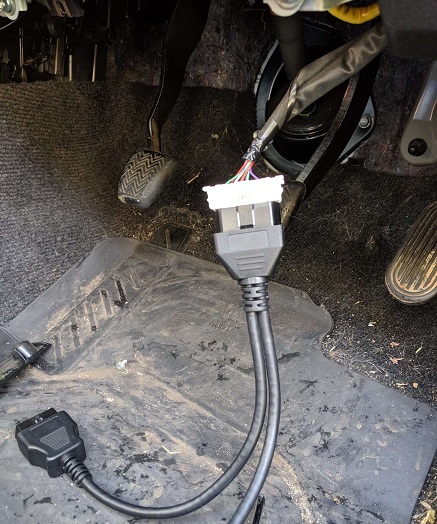
Step 3. Connect the single connector end of the Splitter to the vehicle's established connector. The Cable is then tucked behind the panelling to hide it from view. Note: When concealing the Bolt OBDII splitter cable behind the panels, take care not to place the device or cables in a space that has been left empty intentionally to allow for the movement of parts such as Steering wheels or pedals. The other part of the cable shown to the left of the image is where the Bolt will connect. |
 |
|
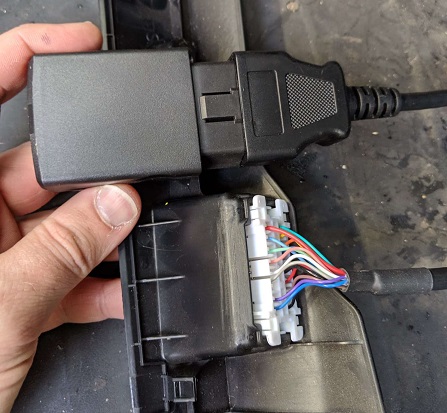
Step 4. Fit the connector with the clips into the panel where the vehicle's established one was, and connect the Bolt OBDII device into the smooth connector. |
 |
|
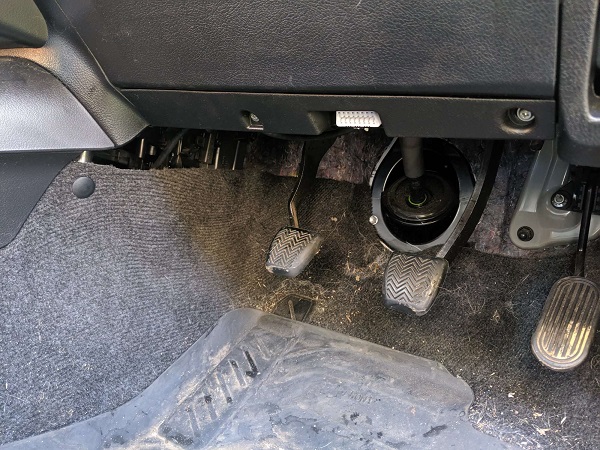
Step 5. Replace panelling and make sure the Bolt checks into OEM/Third Party Platform |
 |
Attaching External Power
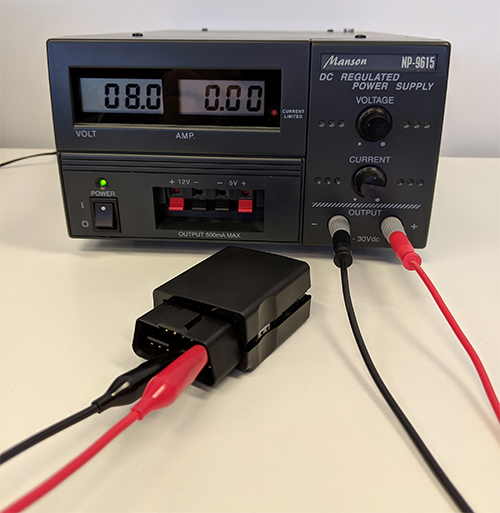
The OBDII is a standardised adaptor, and you can connect external power via cables for troubleshooting. The DC power (positive) pin is Pin 16, and pins 4 and 5 are grounds (negative)
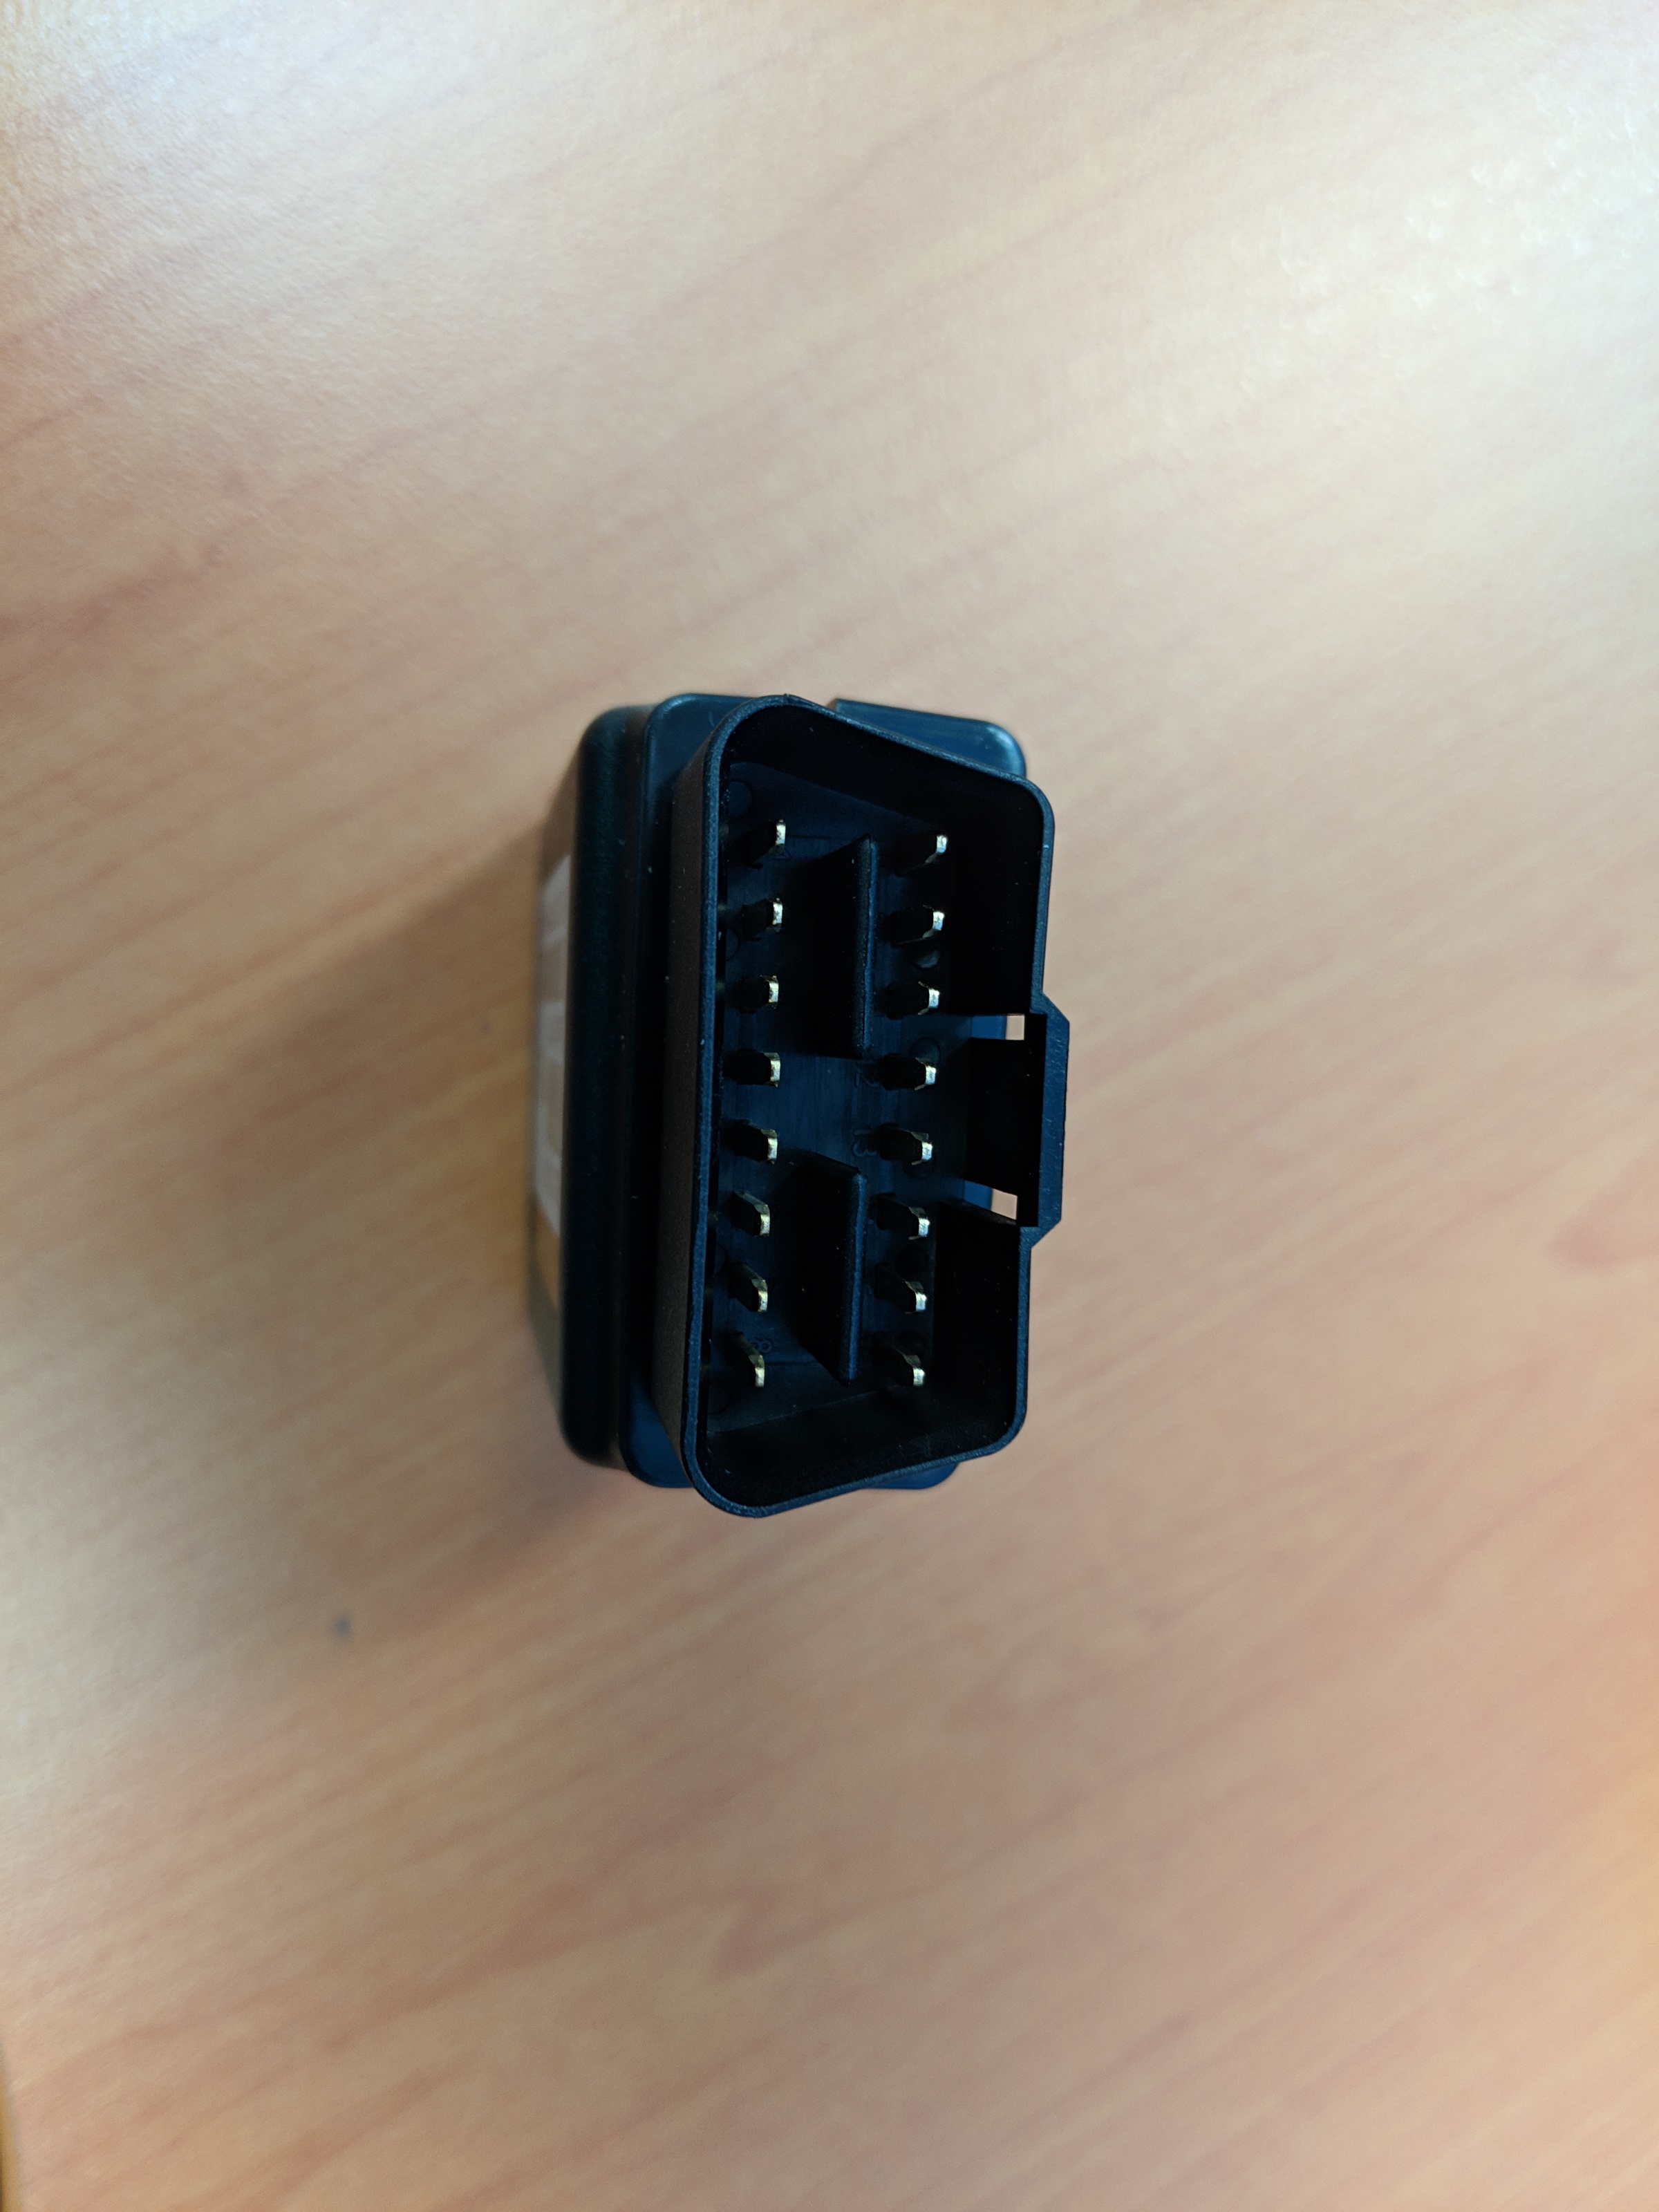
Top Row (left to right) Pins: 9-16
Bottom Row (L to R) Pins: 1-8
By using an external power source like a table top supply as shown below, you can troubleshoot power problems such as batteries yourself. The Bolt can be powered on 8V to 36V Max.
Y-Splitter Cable Suppliers
The Y-Splitter cable can be sourced by a variety of suppliers. When sourcing a cable remember the Bolt is a male OBDII plug. What is in the car is the female. So we need a male to 2 x female splitter - in order to facilitate what is shown in the video above.
APAC Region
- OBD2Plugs - Bulk buy from China at a discounted rate.
- DH Gate- online store
- OBD2 Australia - Aus Supplier
- OzSmartThings
US/Canada
Wheresafe - US/Canada online store
