Driver Management in Telematics Guru

Written by Matthew Clark-Massera
Updated at April 23rd, 2026
Table of Contents
Driver Management in TG
This page explains how to create and manage Drivers in the Telematics Guru web app. Use it when you need to associate drivers with Driver ID tags, support Logbooking or app-based workflows, manage licence expiry, or permanently allocate a driver to an asset.
Drivers can be added within Telematics Guru for several purposes:
- To link a Driver Name to a Driver ID tag or other identifier.
- When a driver scans their tag on a device with a compatible Driver ID reader, the driver name is shown against the trip and in the Live View pop-up.
- Related resources:
- When a driver scans their tag on a device with a compatible Driver ID reader, the driver name is shown against the trip and in the Live View pop-up.
- For use with Time and Attendance in Telematics Guru.
- For Logbooking.
Add a Driver
To create a new Driver in the Telematics Guru web app:
- Go to Admin > Drivers.
- The Driver list is shown.

The Drivers page as accessed from the Admin menu.
- Click New. A dialogue appears.
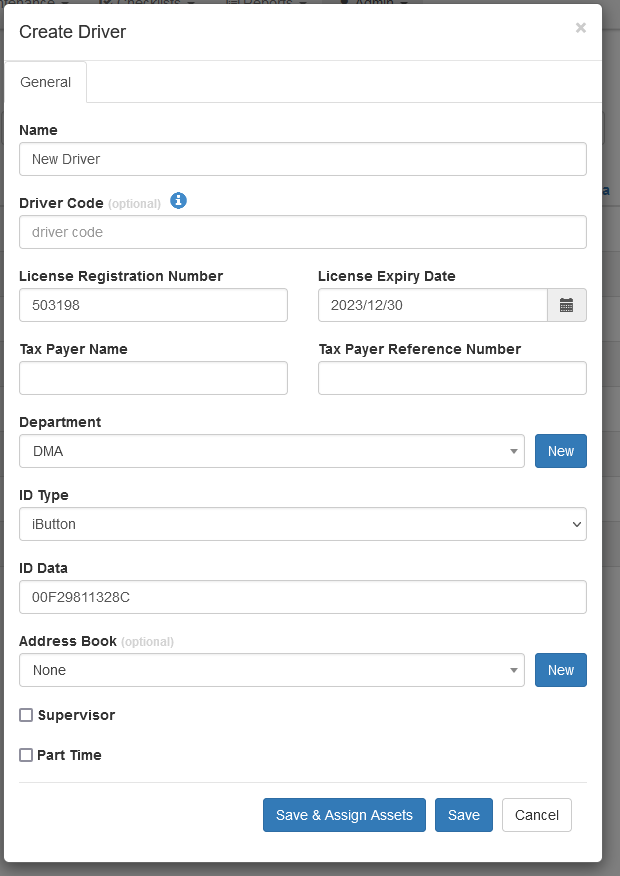
Creating a new Driver.
- Enter the relevant details, then click Save.
- Or click Save & Assign Assets to select the assets that the Driver is permitted to use.
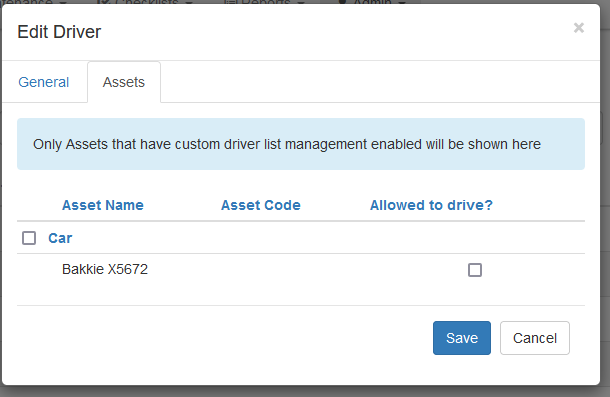
Editing a Driver.
In this context, “use” means that when the tag is scanned, vehicle immobilisation is disabled and the asset can be started, as described in Driver ID + Immobilisation Set Up.
Adding Drivers to an Asset
Aside from adding assets to a driver when the driver is created or edited, drivers can be authorised against devices from the Edit Asset popup. This is a more efficient method once setup is done as there are usually fewer assets than drivers. There are two methods:
Permanently Allocated Driver
A permanently allocated Driver is a Driver who is consistently assigned to a specific asset. This means that all trips made by that asset will automatically have this Driver associated with them.
To set a permanently allocated Driver, go to the Assets module, open Managed Assets, edit the required asset, then open the Drivers tab to assign the Driver.

Once a permanent Driver is attached to an asset, that Driver will populate reports related to the asset in the same way that a driverId allocated driver would.

Custom Driver List
A custom driver list is toggled by checking the Enable Driver Management button on the Edit Asset Page. This reveals subsequent options:
-
Allow All Enabled Drivers - Every driver in the organisation that hasn't been disabled will be collated into a list and sent to the device via Device Manager the next time it syncs, this will allow them to use their local driver ID method of choice to assign themselves to the asset when they are in physical proximity.
-
Allow Custom Driver List - pick a specific set of drivers that can access this vehicle with their ID method of choice.

Link Driver to User
When creating a Driver, there is an option to link that Driver to an existing User. This supports app-based workflows such as Logbooking and Time and Attendance.
Logbooking
- Each trip has a Driver associated with it.
- A User account is required so the Driver can sign in to the app and mark a trip as business or private.
Time and Attendance
- A Driver can log on and off for work and appear in the Time and Attendance module as that Driver.
- A User account is required so the Driver can sign in to the app and log on or off to track their hours.
To link a Driver to a User:
- If no User account exists yet, invite the User from the Driver list.
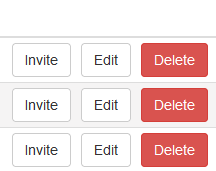
The invite option.
- If a User account already exists, go to Admin > Users.
- Edit the User, then associate the relevant Driver at the bottom of the dialogue.

Associating a Driver.
Managing Licence Expiry
You can use the Driver List report to identify Drivers whose licence has expired or is close to expiring.
You may also want to disable those Drivers in the Driver List so they are unable to use company assets if their licence has expired.
- Run the Driver List report from the Reports page.
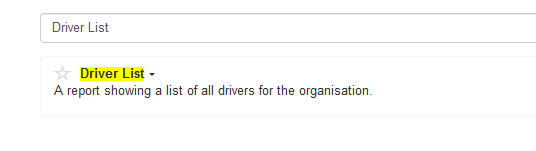
The Driver List report.
-
Customise the report to sort by expiry date and display time to expiry.

Next Steps
For Driver ID setup on devices, see Driver ID Options and Driver ID + Immobilisation Set Up. For app-based trip workflows, see TG App - Managing Trips and Logbooking. For attendance workflows, see Time and Attendance in Telematics Guru.